Trading Card Reports - Digital Camera Project
Trading cards can be a fun way to make reports a more exciting assignment, one that increases interest, participation and most of all - learning. By using a digital camera, a word processor, and some card stock paper it is possible to make an interesting short form report presentation. In this activity, students create trading cards using digital camera images as the focus of the card. The trading card project is best when printed on card stock or heavy bond paper. The card report may include an image and supporting information such as the author's name, a short story, poem, description, or summary. These trading cards could also be used to create flash cards, or as part of a reading project, in which the student recreates as an image a portion of a story and then includes either a description or the passage.
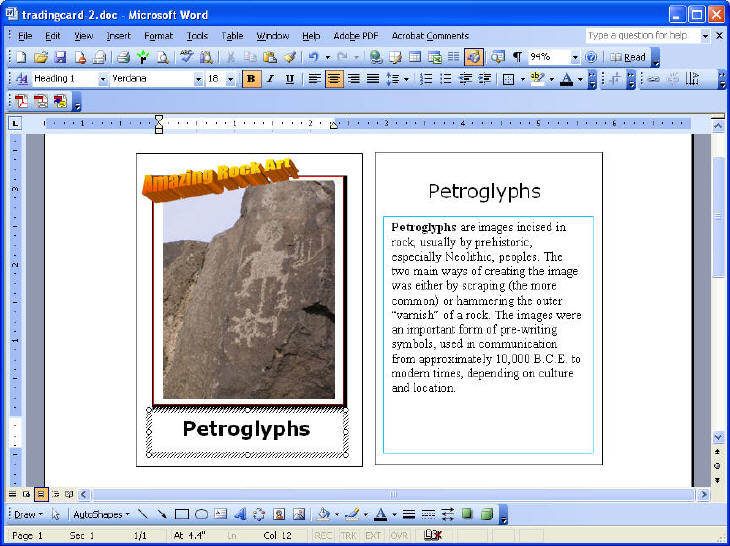
Completed sample project (pdf).
To complete this Trading Card project you will need the following materials:
- Digital camera images
- 8½ x 11-card stock or heavy bond paper
- Scissors
- Printer (color is better)
Procedure
- Start the process by taking some digital pictures with your camera to use as the focus of the trading card, and then download the images into a computer. Your card can use one image.
- Create your trading cards by next downloading the trading card template. This is a very basic template and you should feel free to add or make changes as you see fit. There are two different forms of the template available: one that makes two cards and the other which creates four cards. Either click on the link and when prompted choose the Save as option, or right click on the link and save the template to your own computer.
The MS Word template is available for the trading card at:
http://www.drscavanaugh.org/digitalcamera/trading_cards/tradingcard-2.doc (2 cards)
http://www.drscavanaugh.org/digitalcamera/trading_cards/tradingcard-4.doc (4 cards)
- To add your images to the trading cards, use the insert option from the word processor program. Highlight the indicated text and add your picture onto the card where indicated by choosing the menu option Insert, then Picture, then From file. Browse to the desired picture location, select the picture and click on OK. Adjust the size of your image to make it fit in the space on the card layout. First select the picture by clicking on it, then resize by pulling the corners to fit into the appropriate space. You may wish to use your image tools to crop the image before or after adjusting the image size.
- Now use the blank sections to title and write your report. The report area is sufficient for one to two paragraphs (this will become the back of the card later). You can change the font size and style of the report section. Use the image as the focus of what you are writing about. Don't forget to add titles to your card in the upper right and lower left sections. Now double click on the "Your Text Here" to create your own headline statement. Double clicking should open the Word Art pop-up. Replace the highlighted statement with one of your own.
- Now print out the the trading card using your printer. This will require two printings: once for the font and once for the back. After the card prints the first time turn it over and print on the back of the paper. The template is designed so that the second printing should put a back on the image section and an image on the back section. Two card template will produce two identical cards. The four card template will make identical sets at the top and bottom (although you can make these different).
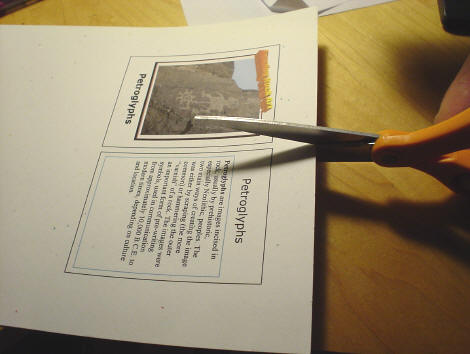
- Using your scissors cut out the trading card. This will create two identical trading cards, one to keep and one to share.