Finger Puppets - DIGITAL CAMERA Project
 Using your
digital camera and a word processor it is possible to create finger puppets for
fun or education. In this activity, students create model finger puppets
using digital camera images as the heads of the puppets. The finger puppet can be
made of card stock or regular paper, and may include information such as the
name, a description or other ideas that you may wish to include.
Using your
digital camera and a word processor it is possible to create finger puppets for
fun or education. In this activity, students create model finger puppets
using digital camera images as the heads of the puppets. The finger puppet can be
made of card stock or regular paper, and may include information such as the
name, a description or other ideas that you may wish to include.
To complete this finger puppet project you will need the following materials:
- Digital camera
- 8½ x 11-card stock or regular paper
- Scissors
- Tape
- Printer (color is better)
Procedure
- Start the process by taking some digital images that you would like to use as finger puppet heads with your camera and downloading the images into a computer.
- Create your finger puppets by next downloading the finger puppet template.
MS Word template is available for the finger puppets is at http://www.drscavanaugh.org/digitalcamera/finger_puppet/fingerpuppet.doc
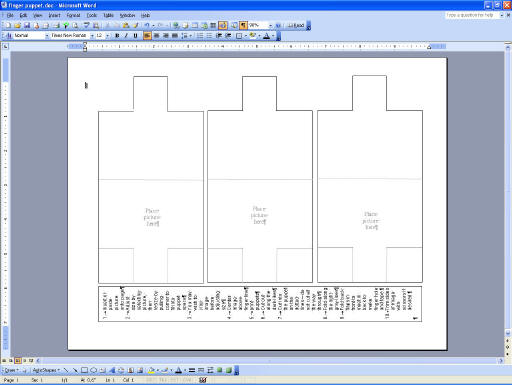
- Using a word-processing program, open the finger puppet template. The template has space to create three finger puppets at the same time. You can use similar or different images on each of the puppets.
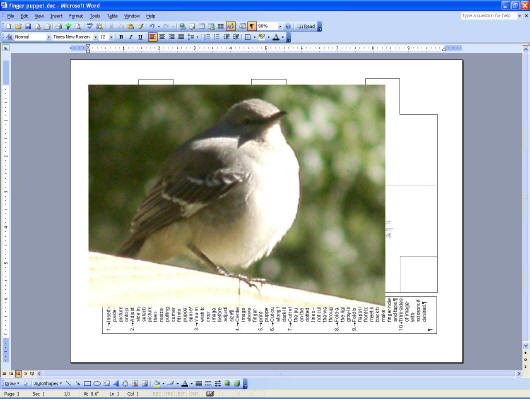
- To add your images to the puppet, use the insert or paste options from the word processor program to add a picture onto the page. The page is in landscape orientation and the images should go in upright. Make sure to move or format the image so that the image is in front of the text.
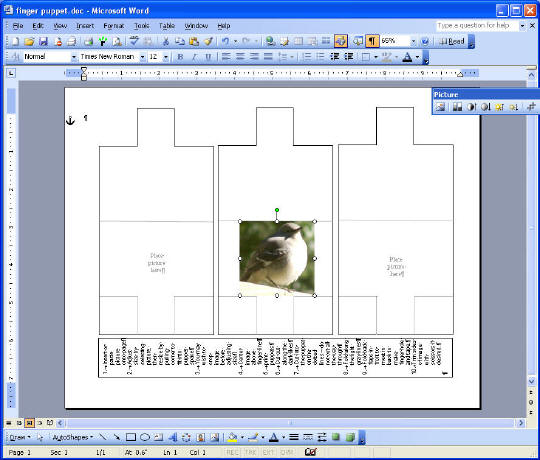
- Adjust size of your image to make it fit on a finger puppet layout. First select the picture by clicking on it, and set the image picture order to "send in front of text." Next resize the image by pulling a corner to fit into the puppet space. You may wish to use your image tools to crop the image before or after adjusting the image size.
- Center the image above the finger line by placing the image over the text "place picture here." You may need to resize or crop the image some more to make it fit in the space.
- Now print out the finger puppets using your printer.
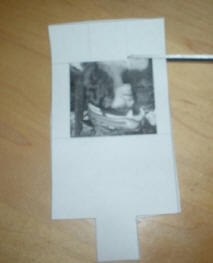
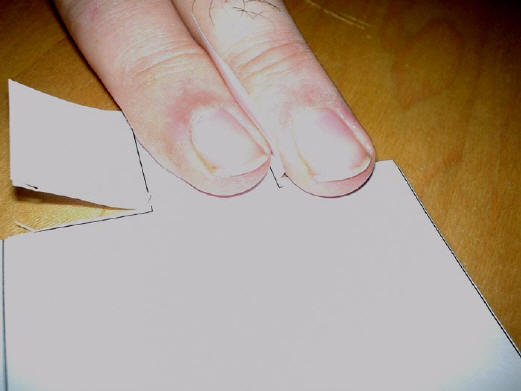
- Using scissors, cut out the finger puppets by cutting along the dark lines. Using your scissors also cut into the puppet on the dotted lines – be careful!! Do not cut all the way through, this part will wrap around and hold the puppet onto your finger.
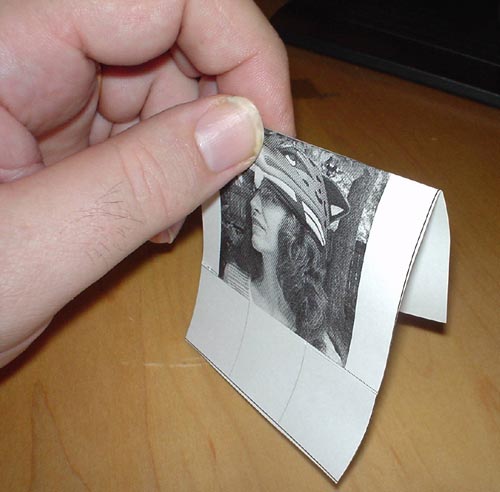
- Fold the puppet in half (just above the image area), along the light gray line.
- Fold back flaps in front to meet in back to make finger hole and tape.
- Trim sides of image with scissors if desired.
- Place on finger and enjoy.